Seattle/Vancouver Travel: A Photo Breakdown
Let me first start with the equipment used on this trip…
As soon as the trip was booked I was faced with the all important question “WHAT KIT AM I BRINGING?!” Currently I am shooting on a Fujifilm X-Pro3, a camera I like to shoot smaller primes on. So what lenses would give me a good span of focal ranges for this trip? I knew that this trip would consist of mostly city, with a portion of it being in the Vancouver outdoors. I am a minimalist at heart so whatever gear I bring I like to keep it simple and intentional.
My perfect kit typically consists of 2-3 primes ranging in the 20mm - 85mm range (FULL FRAME), and luck would have it I already had 2 of those 3 lenses.

The first lens I knew I would have mounted to the X-Pro3 the most. That would be Fujifilms 27mm f2.8 WR lens. A sharp and weather sealed pancake lens mounted to an X-Pro3 is a perfect EDC combo that honestly could probably be a one and done lens for most travel, but I like to get creative so one lens doesn’t cut it.
Second lens is Sigmas 56mm f1.4 lens. A VERY sharp tele lens I wanted to have on me for portraits of my wife as well as tight cityscapes or landscapes. This lens is also on the smaller side and is weather sealed.
Lastly to the lens I didn’t have directly prior to this trip, but had once had in the past… The infamous Fujifilm 16mm f1.4 WR lens. This lens is a beast. An all around great focal range lens with excellent optics and character. So I immediately hit the used market and picked one up.
I paired this kit with a Brevite 18L Camera Backpack. For city travel I like to have a more inconspicuous bag for safety reasons as well as keeping things on the smaller size at only 18 Liters. The bag was a good travel companion that sufficiently carried my camera, three lenses, extra batteries and a few odds and ends. As well as a water bottle and jacket when needed. But would I use this bag on another trip like this? I wouldn’t, but maybe I will get into that in another blog.
Now that I got the gear in check, what images were actually made with it?
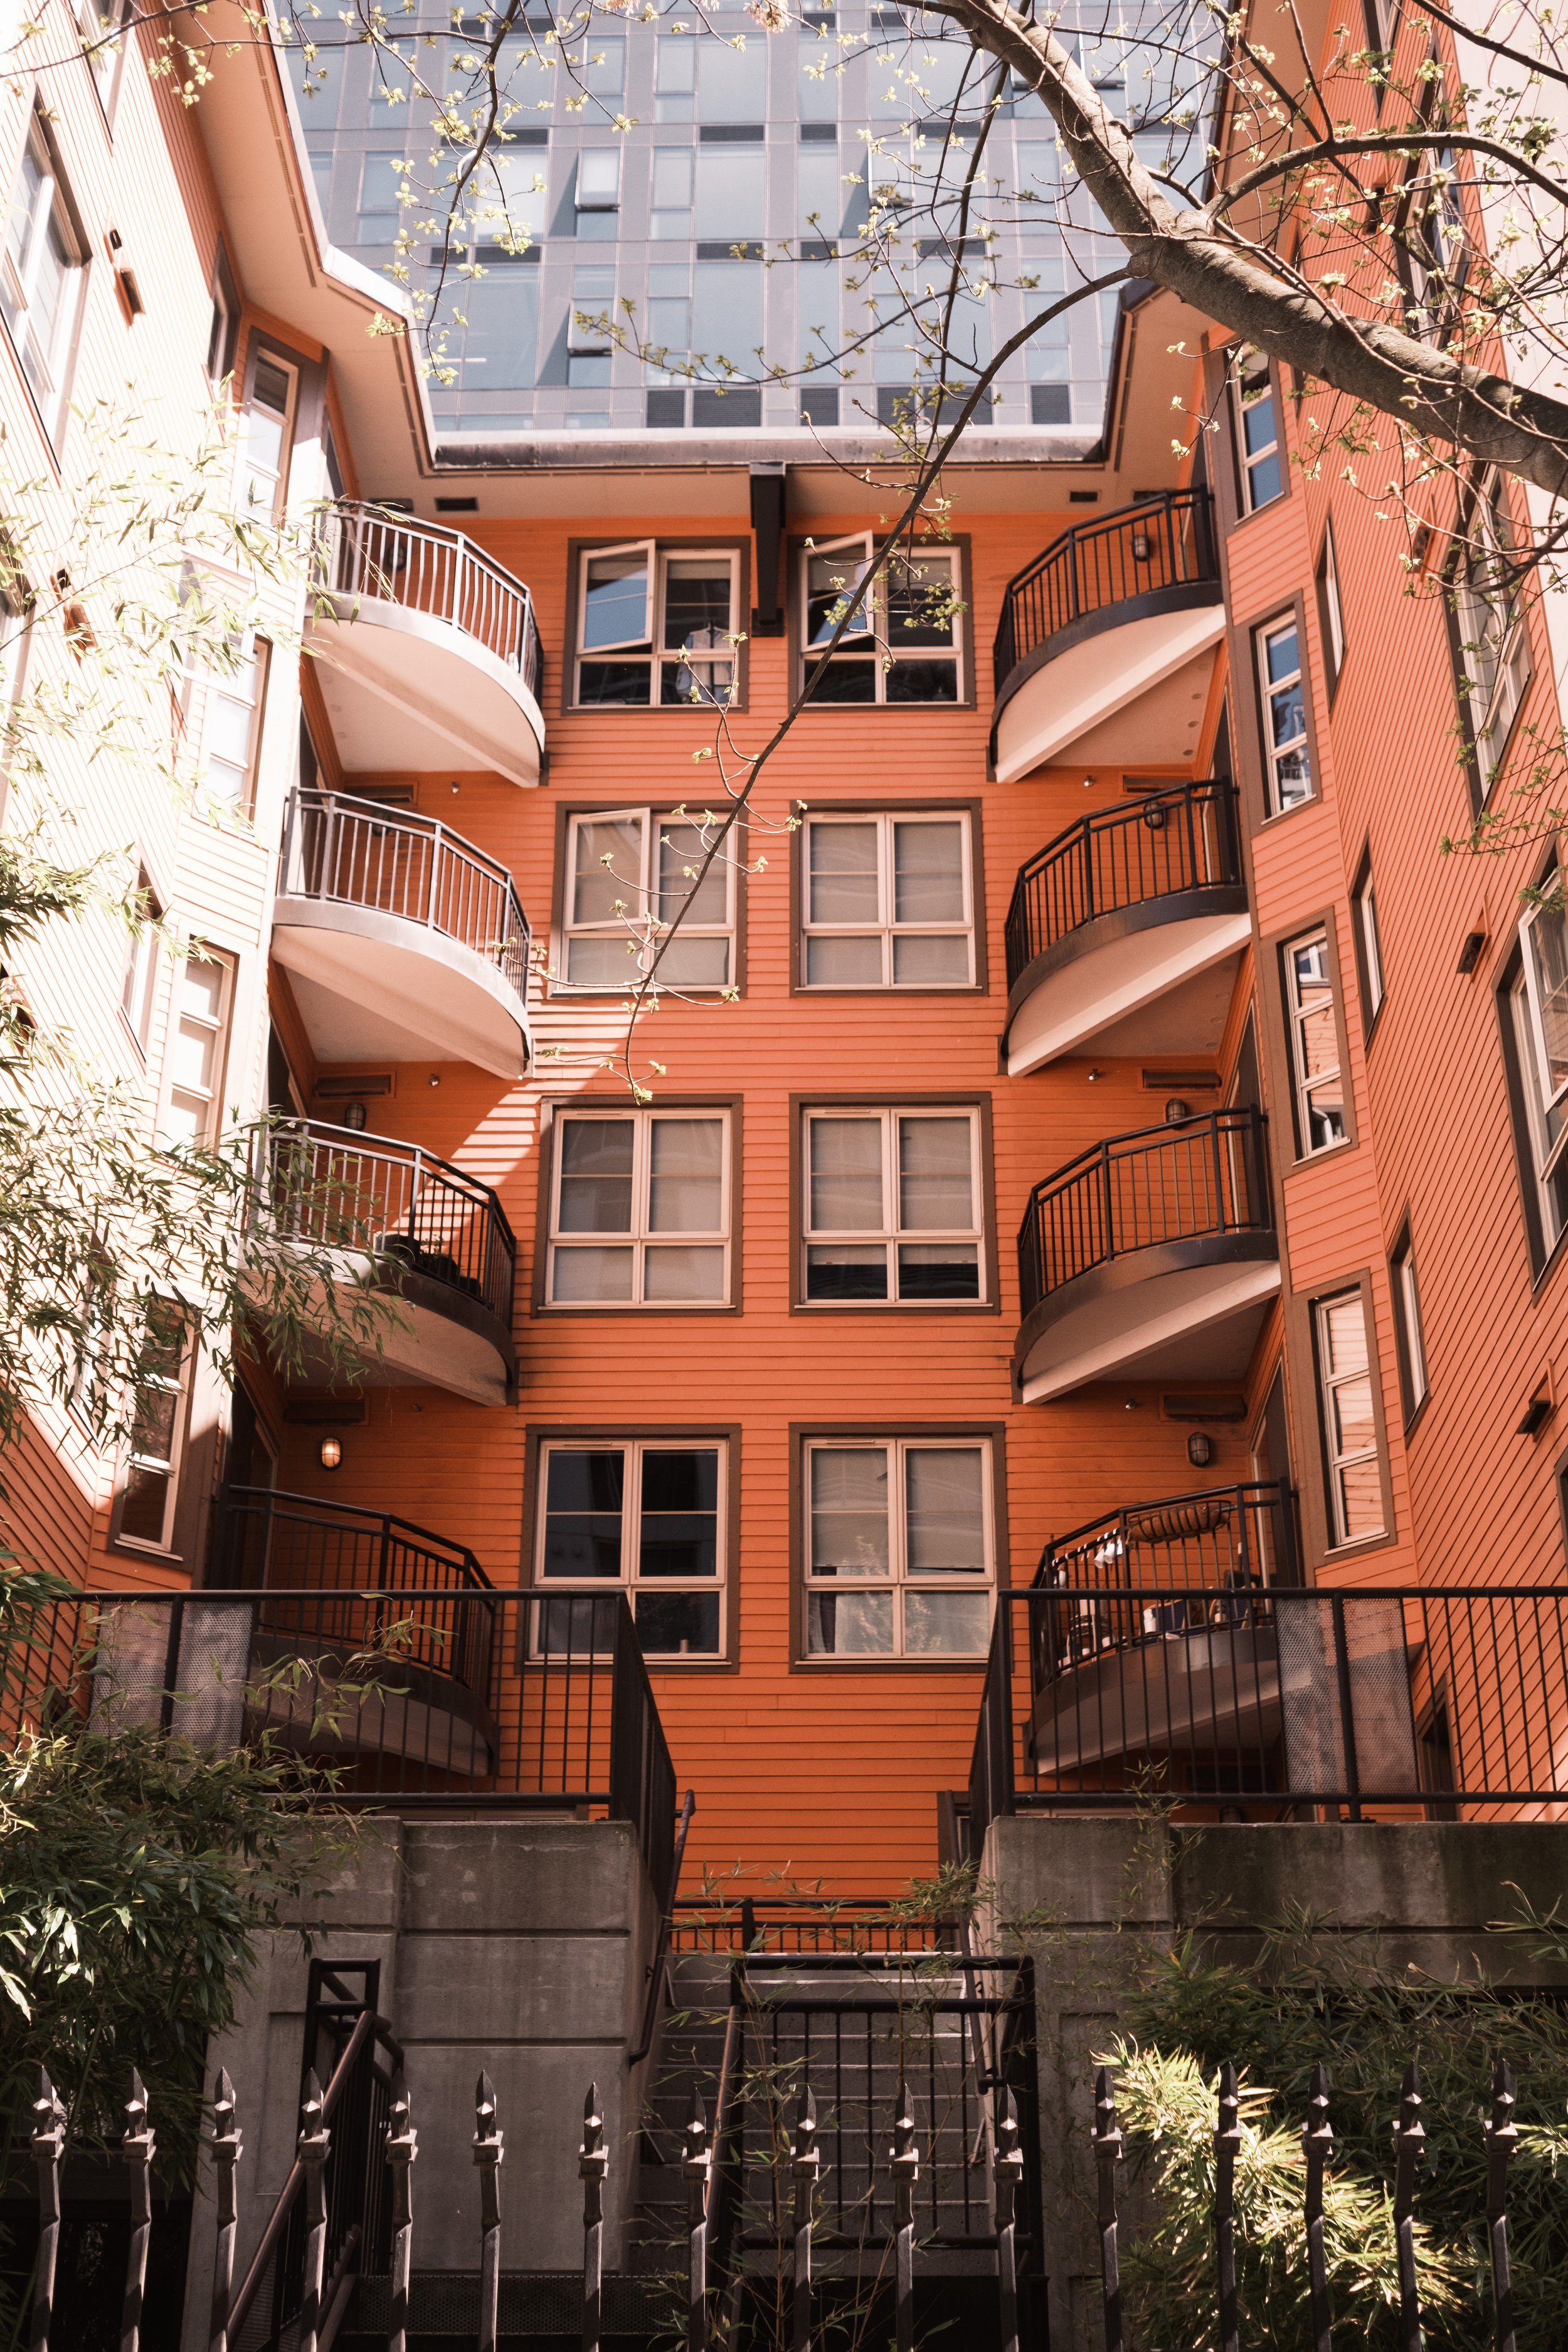
When I travel my intention is to create a set of images based off of each location. By doing this I get a a group of consistent looking images that I can copy an editing style to. For example, this first set is comprised of images taken in Seattle. As you can see I have curated images that flow together as a whole. Locations on this trip consist of Seattle as mentioned, the Scenic Amtrak Train from Seattle to Vancouver (HIGHLY RECOMMEND), Capilano Suspension Bridge (Vancouver), Stanley Park (Vancouver), and Grouse Mountain (Vancouver).


All images are shot in RAW and then imported to my iPhone actually and edited there via Lightroom. On longer trips, like this one, I prefer to edit on the go while traveling. This editing process gives me the most recent memory to reflect on. You see when I am shooting I take a mental note as to how the scene looked in real time… What I mean by this is I take a note of the warmth or coolness of the location, what colors are most dominant, and the overall vibes of the particular location. When shooting and editing my end goal is to give the viewer the best representation of what that location was like to all five of the human senses. I want the viewer to look at my image and get the whole picture, pun intended, with out explanation.
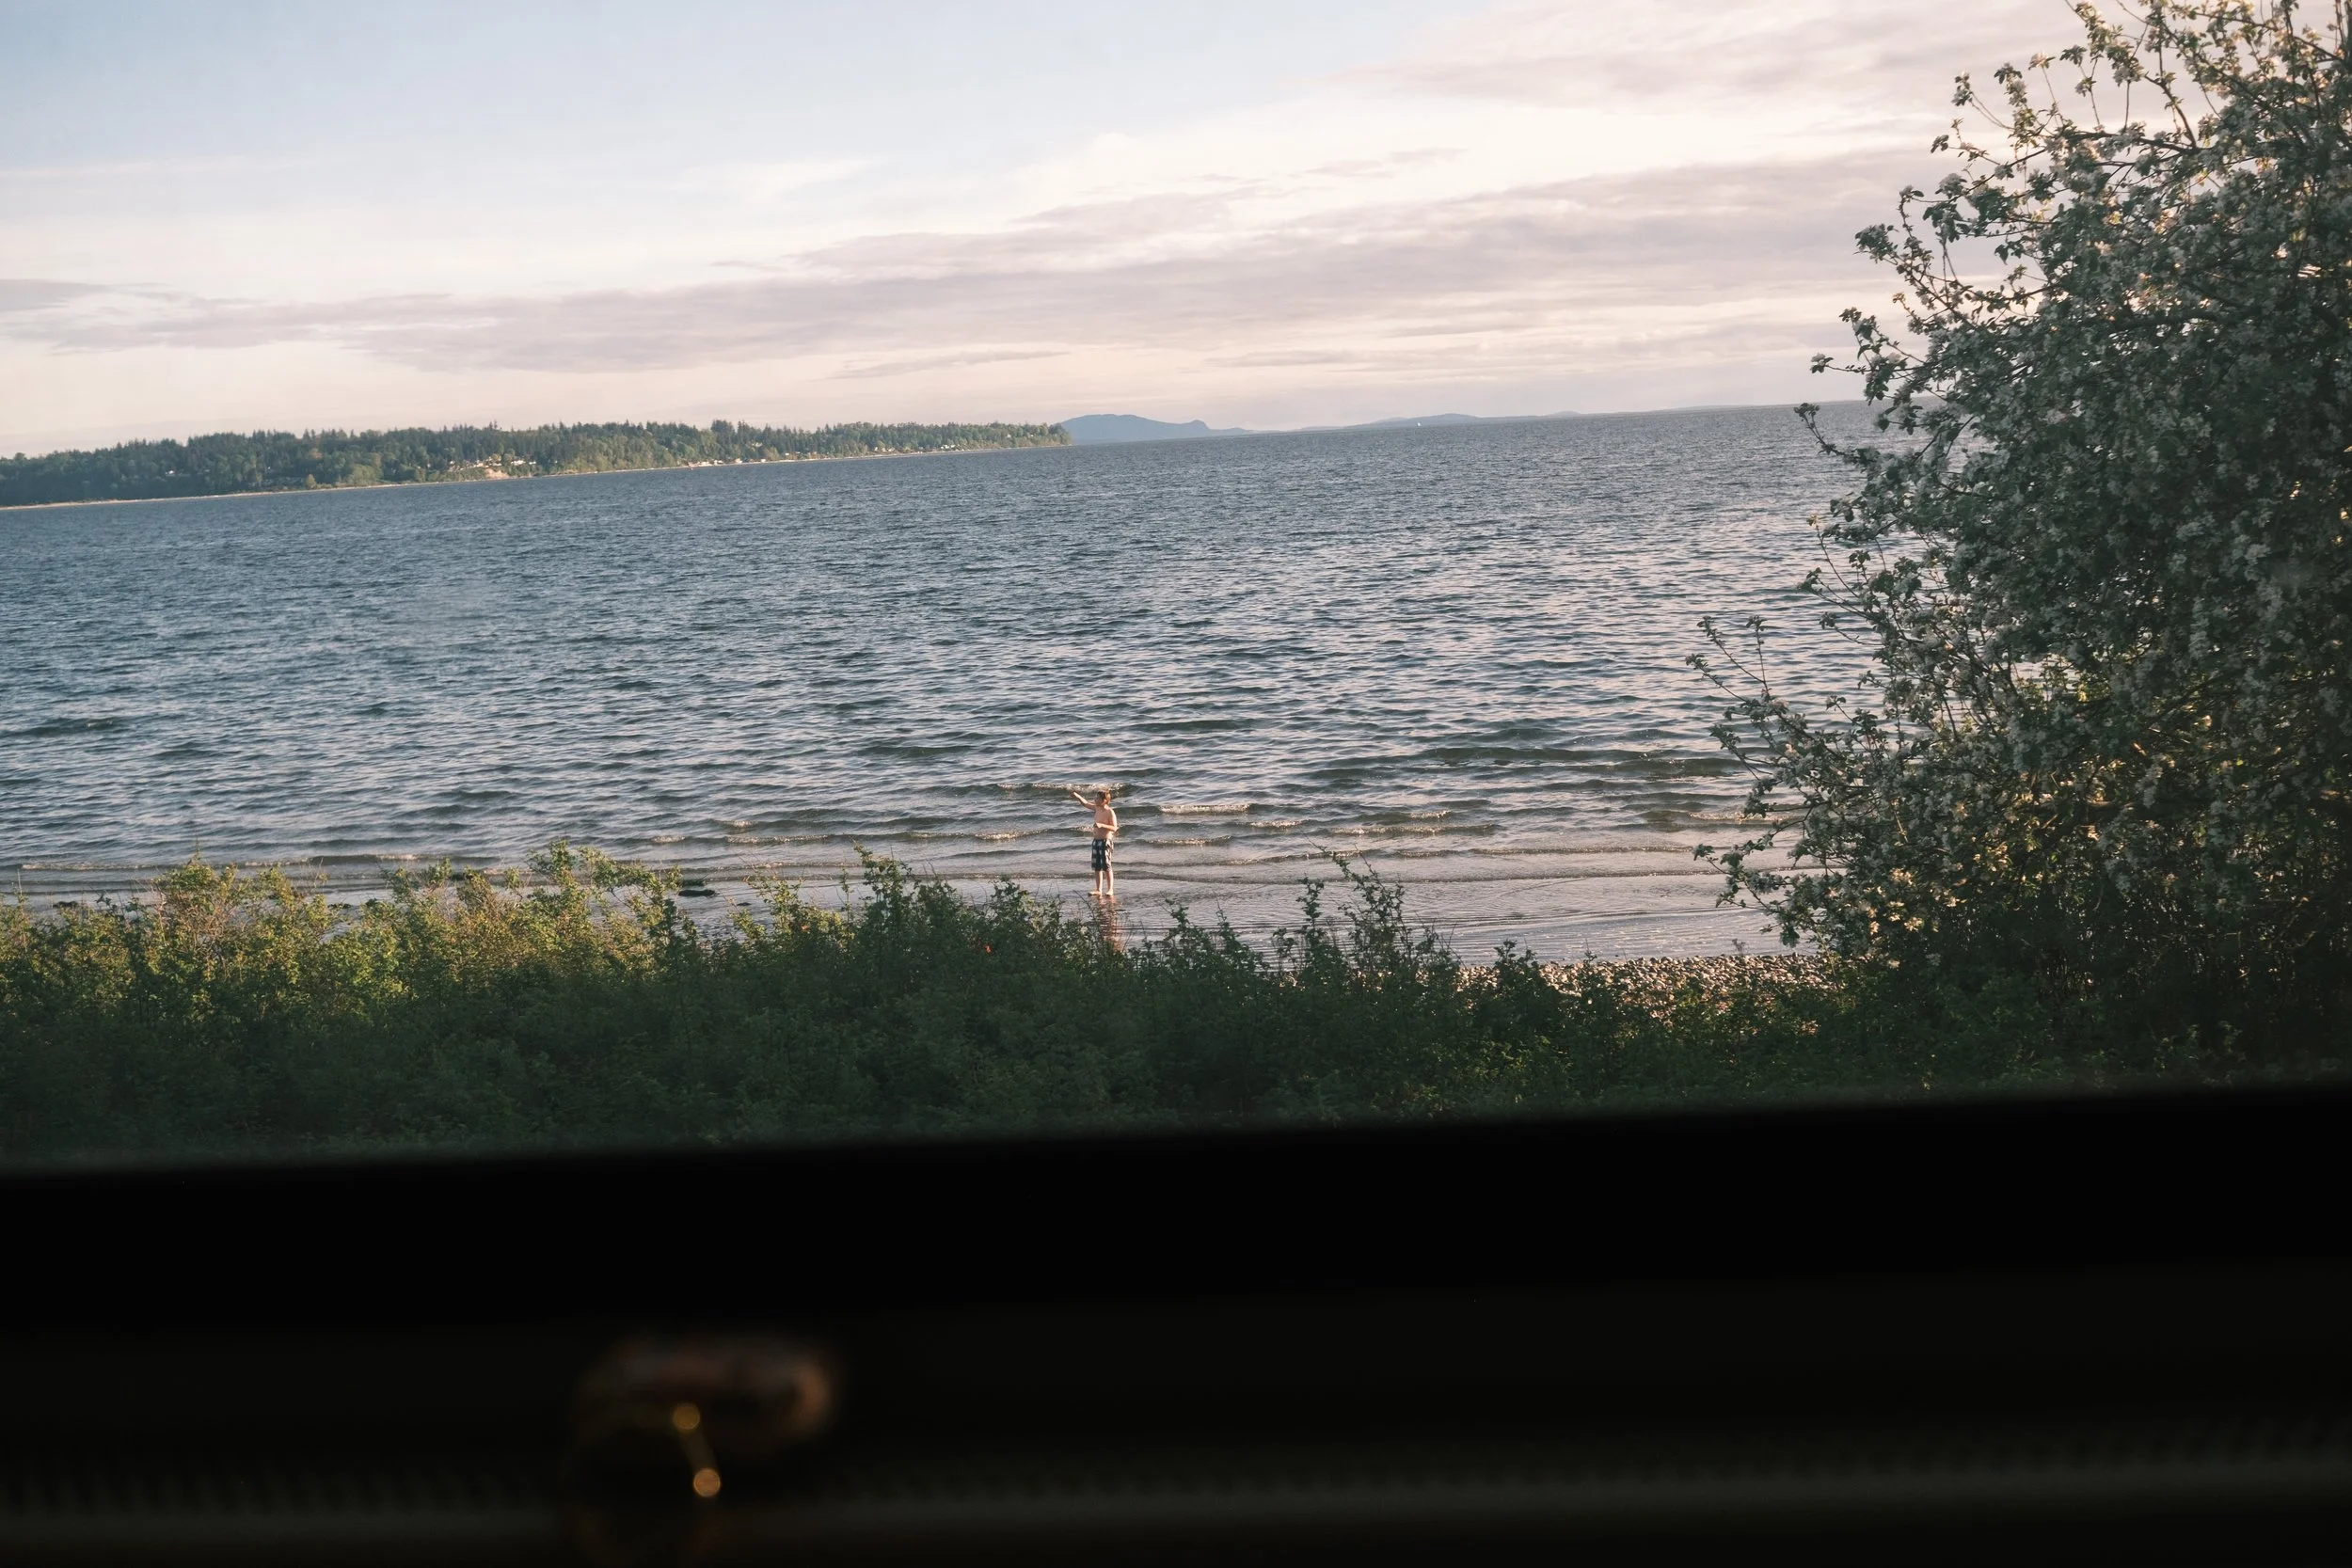
The images below are from the Scenic Amtrak Train from Seattle to Vancouver. Such an amazing way to travel between the two cities. The train takes you along picturesque Puget Sound, small beachside towns, and awe inspiring farmland.


Next is a set of images from Capilano Suspension Bridge (Vancouver). Highly recommend it if in the Vancouver area, but if you’re wary of heights you may want to pass.


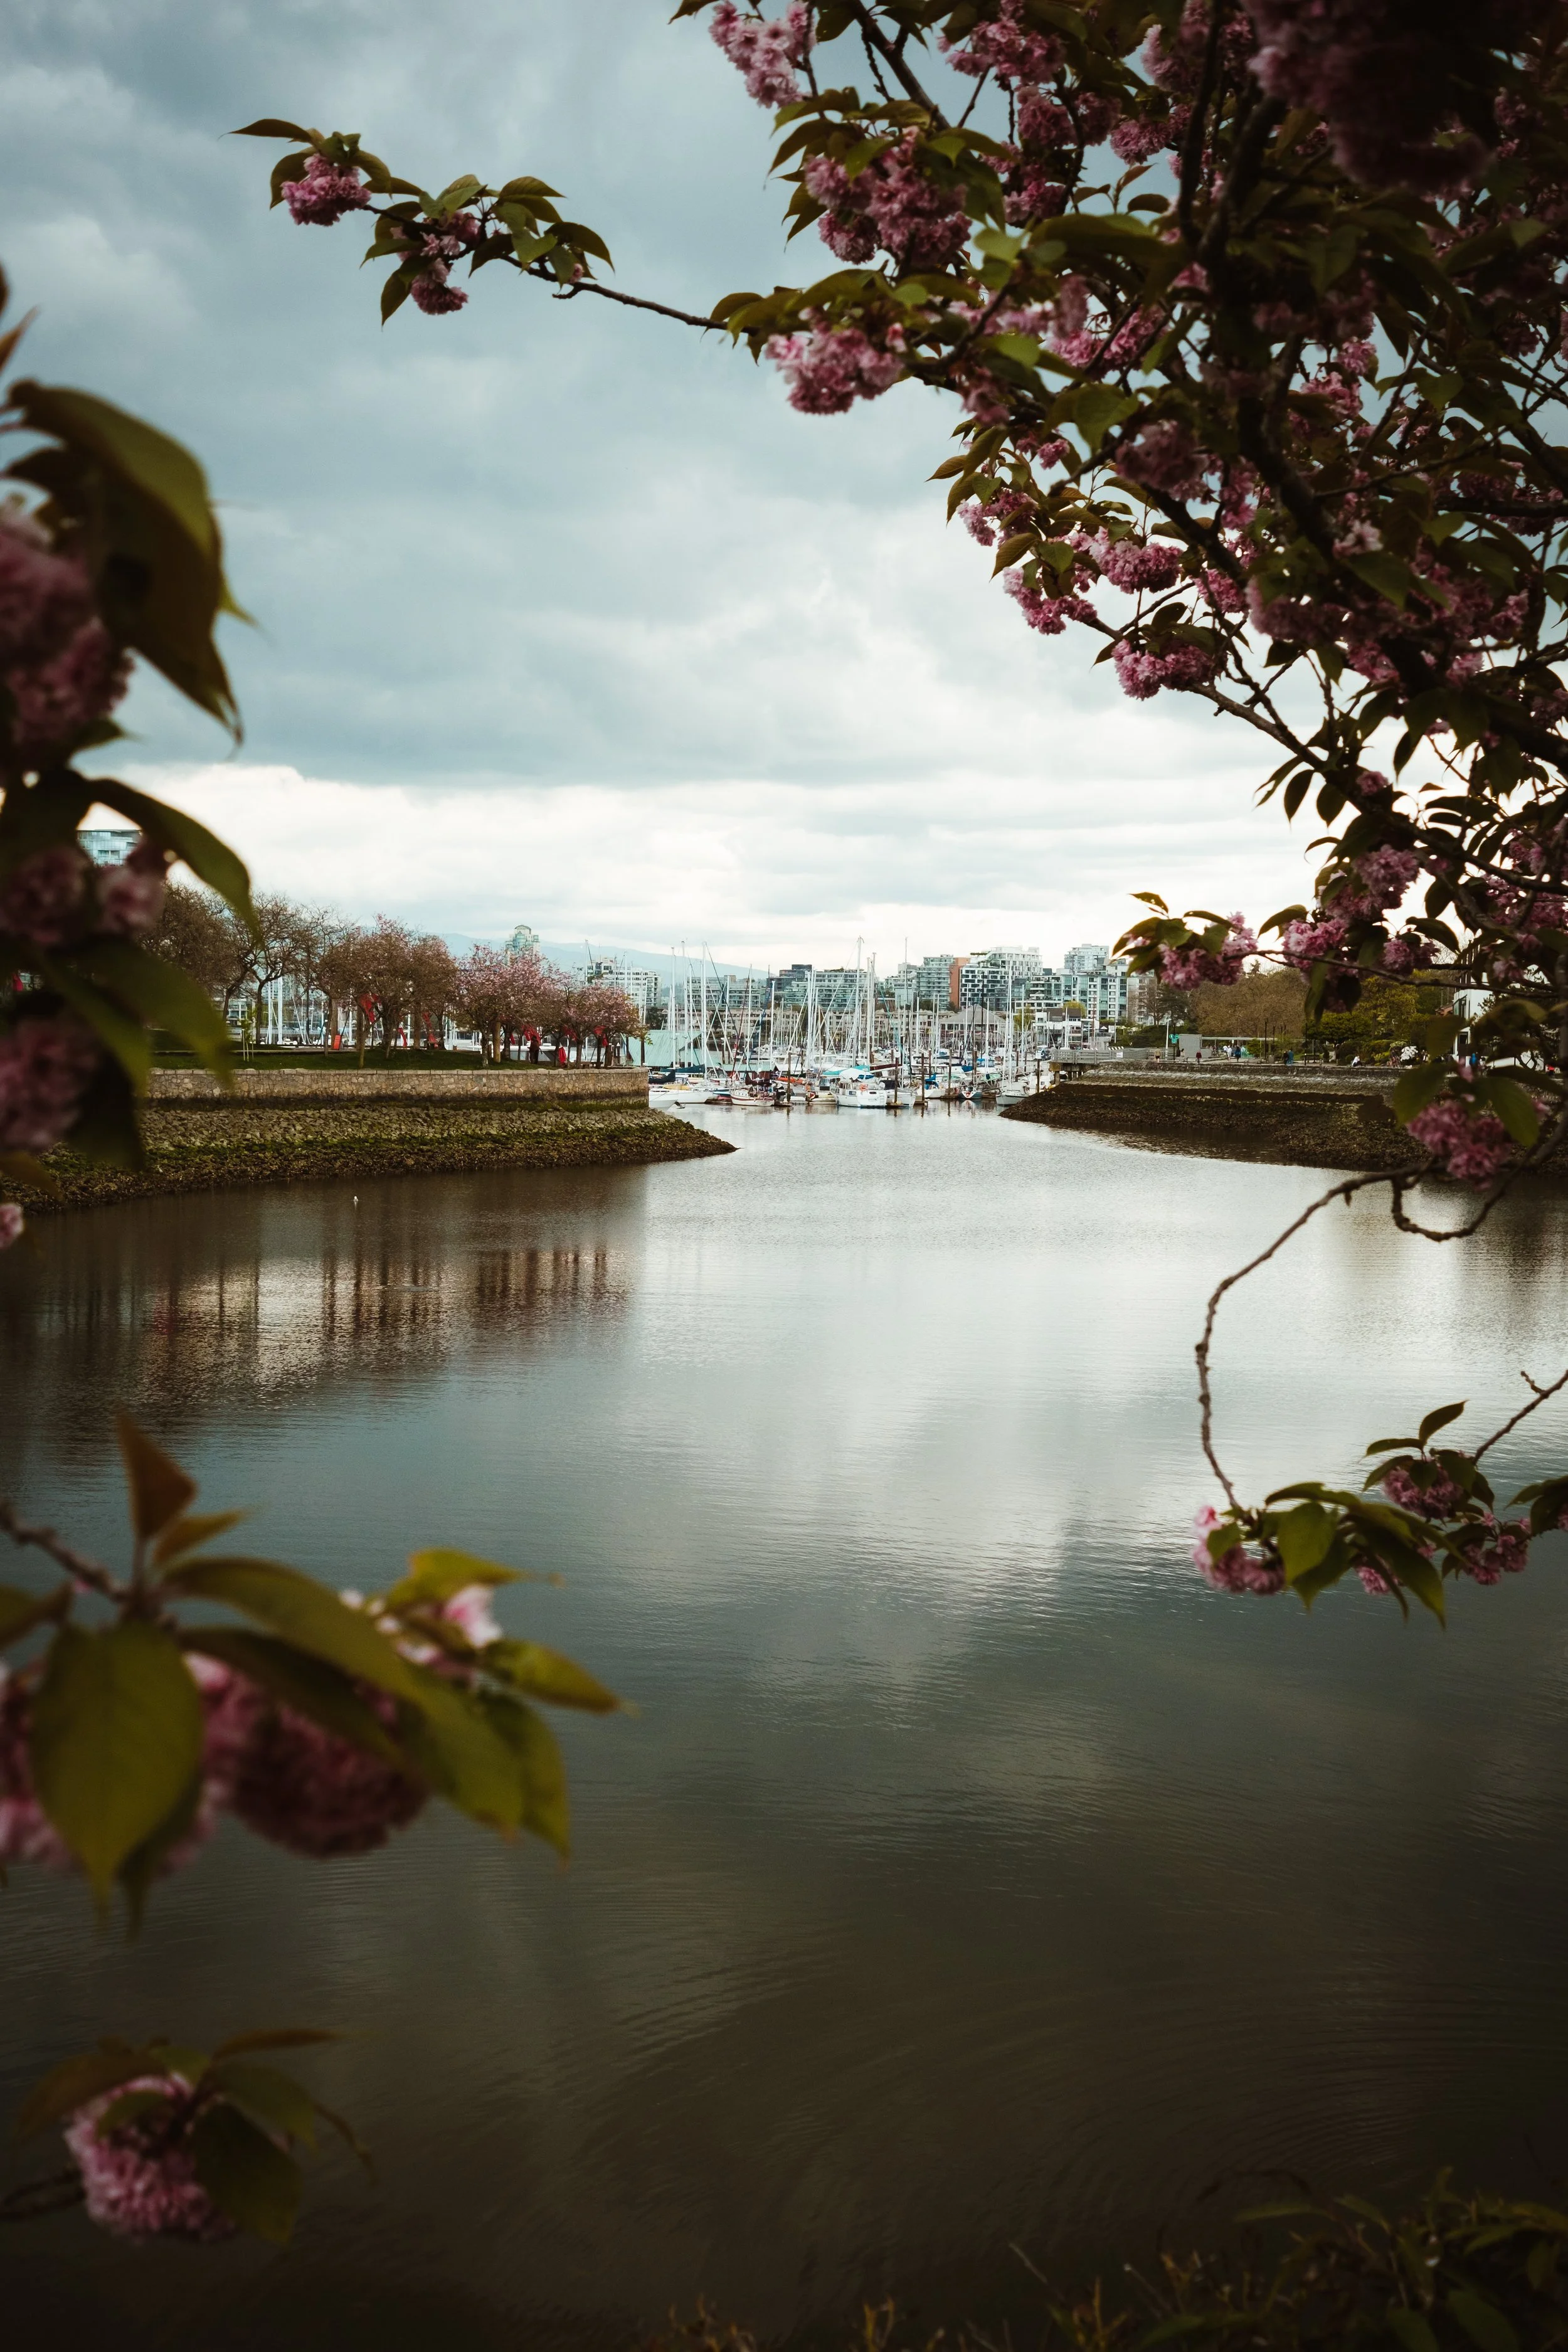
We then moved onto a bike ride around Stanley Park (Vancouver). The park is a peninsula made up of lush forest within, and a seawall that you can either walk or bike around. We road bikes around the seawall and ended it up being one of the highlights of the trip. Images represent the views from the path as well as a beach with a rock jetty exposed during low tide.


Finally, the last set below is of Grouse Mountain (Vancouver). These images are from a mile hike that leads up to the summit of Grouse Mountain; at least that’s what the sign read… Needless to say, we didn’t make it to the top. Sadly we were unprepared for the strenuous hike that runs straight up the mountain. But the low damp clouds and cool weather presented itself for some dramatic shots on the part of the hike we did do.


Overall the trip was a huge success. Both Seattle and Vancouver host amazing sites for one to explore. My kit proved to be sufficient for my needs. I never felt bogged down by too much gear or tortured by the thought of not having enough focal range. Going forward I think I will stick to this setup for the foreseeable future with the exception of the bag and maybe the Fuji 16mm. The bag I am probably going to switch out to a top loading bag that is more comfortable with a camera insert cube inside. And for the Fuji 16mm I may switch out for a 23mm focal range. The 27mm pancake lives on my camera when I walk around with only the camera and one lens. But when I have my backpack with my whole kit I prefer my main lens be a fast 35mm focal range.
Hope this blog was informative, but most of all inspiring to get out there and travel more. Thanks for reading.